Sydney Pro lets you import pre-designed Elementor headers and footers straight into your website using Sydney Studio and the Template Builder module. Instead of building a header or footer from scratch, you can choose from a collection of professionally designed templates and customize them to match your brand.
In this guide, you will learn how to create a header and footer template, import a pre-built design from Sydney Studio, and customize it.
This feature is only available in Sydney Pro. To learn more about Sydney Pro, please go here.
1. Activate the Template Builder Module
Before you can use the Template Builder feature, you need to activate the module in the Theme Dashboard.
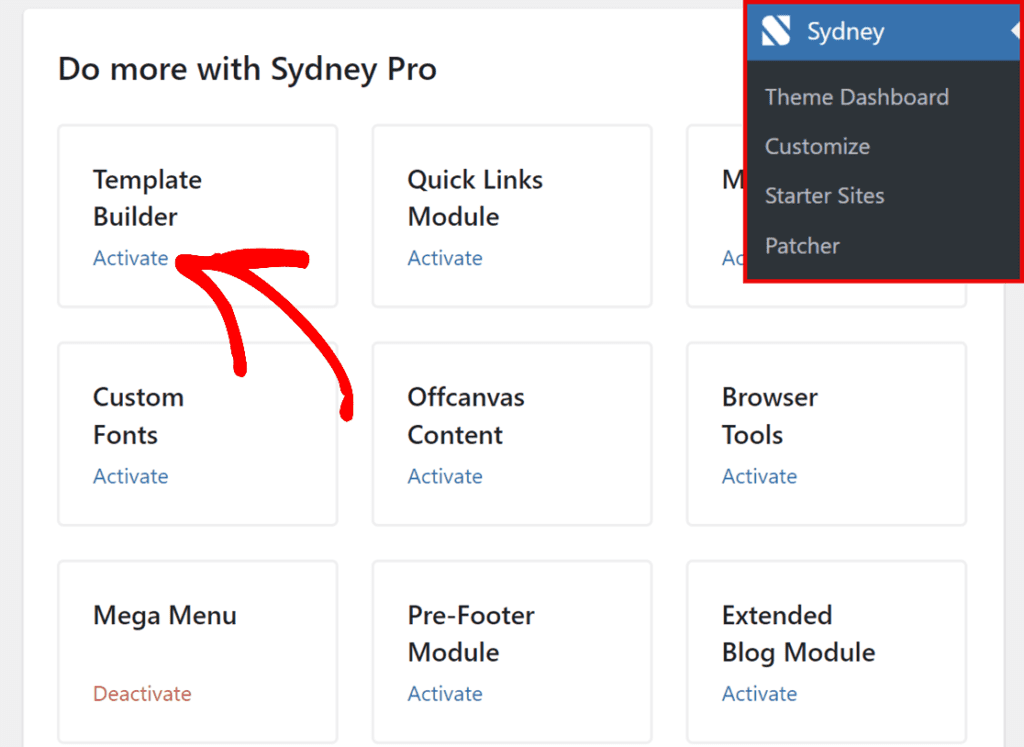
To do so, go to your WordPress admin area and navigate to Sydney > Theme Dashboard.
Once you’re on the Theme Dashboard page, locate the Template Builder module under the Do more with Syndey Pro section, and click the Activate button.
2. Create a Header Template
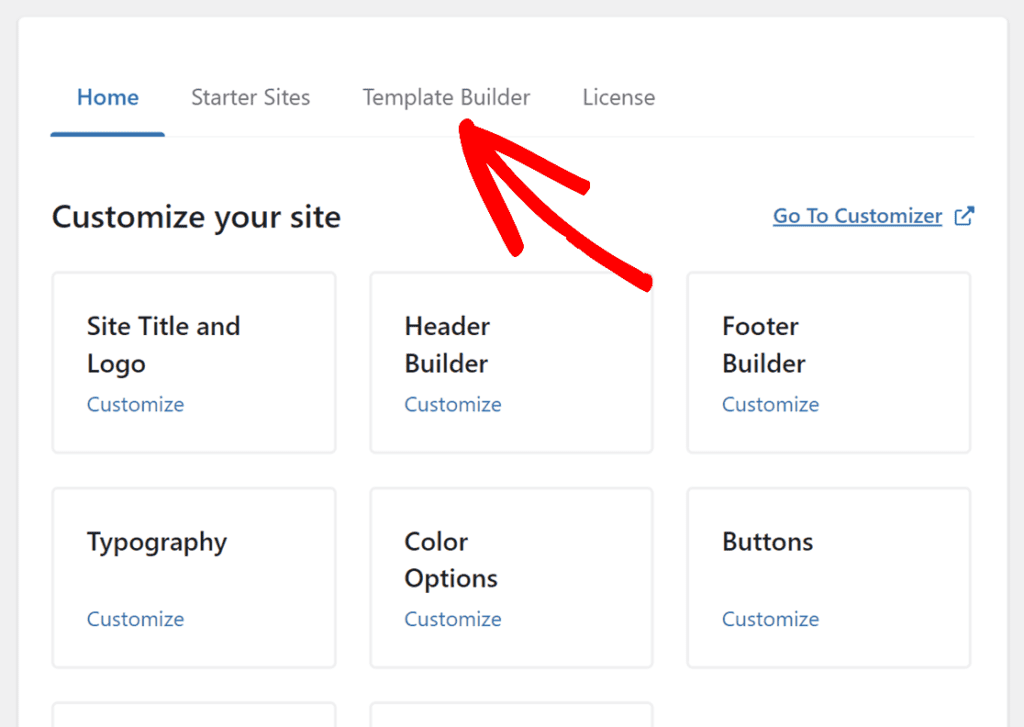
After activating Template Builder, click on the Template Builder tab from the Sydney Theme Dashboard page.
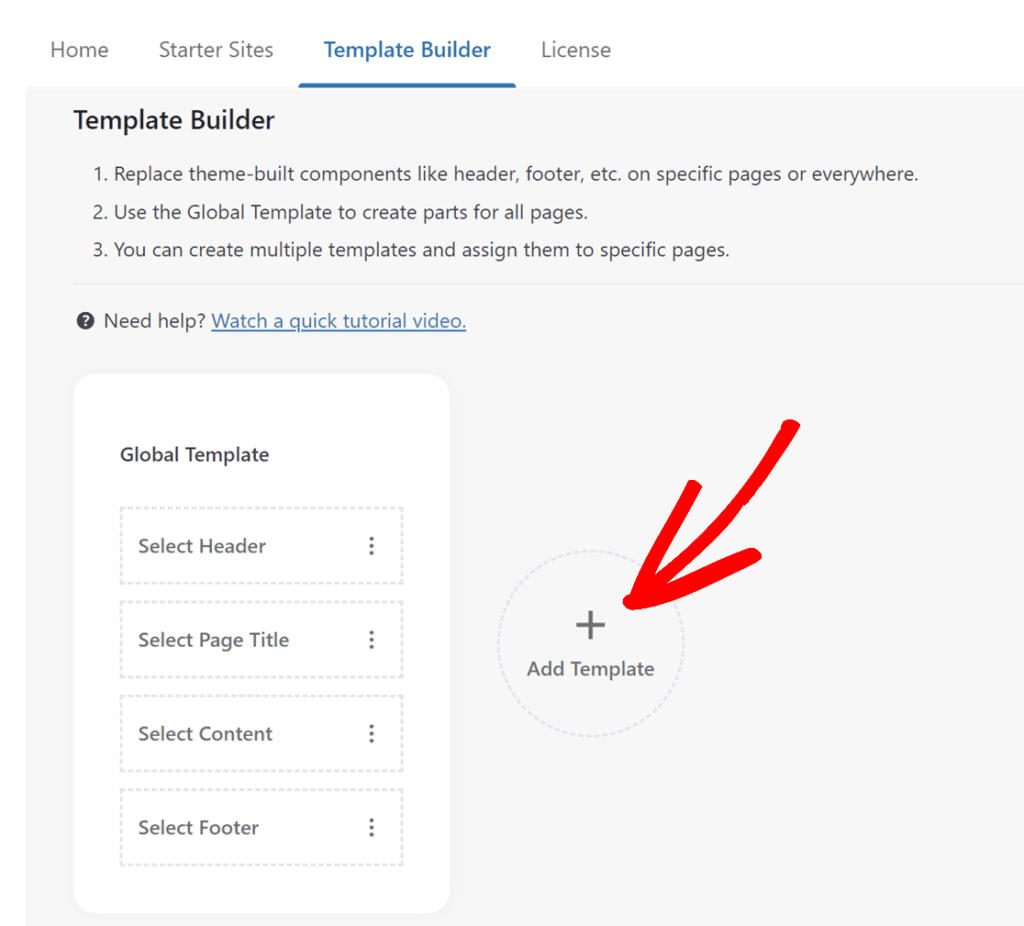
In the Template Builder tab, click on the Add Template button.
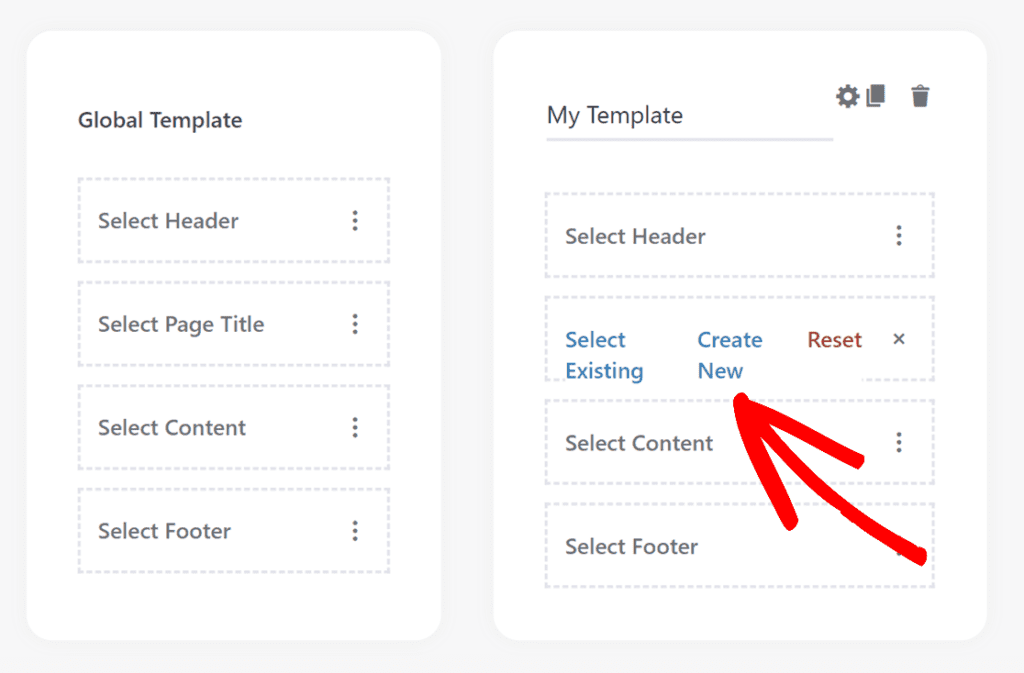
Enter a name for your template (e.g., “My Custom Header”). Next, select the template type you want to create: Header, Page Title, Content, or Footer.
Then click Create New for that template type and choose Elementor from the dropdown to build it with the Elementor editor.
3. Import a Pre-Built Header from Sydney Studio
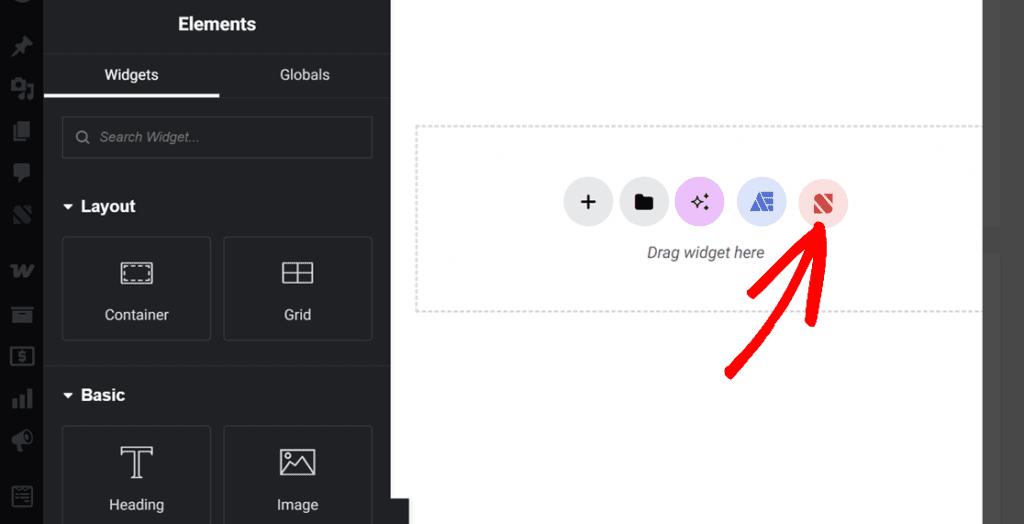
In the Elementor editor, click on the Sydney Studio icon (the Sydney logo button in the editor toolbar).
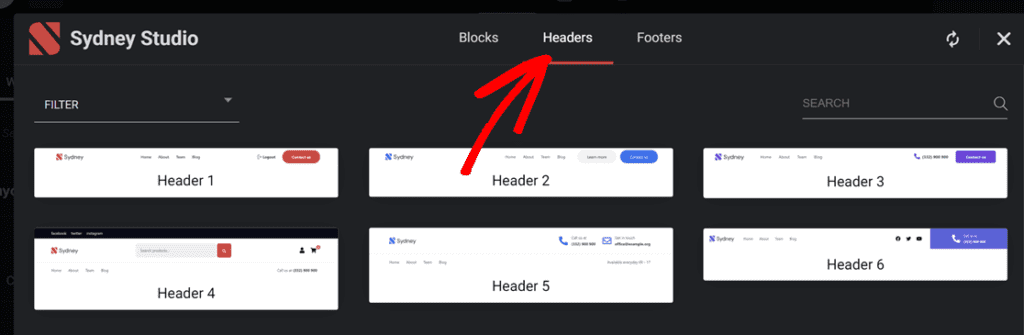
The Sydney Studio modal will open, displaying a collection of pre-designed templates. Browse the available headers from the Headers tab and click on the one you want to import.
The header structure will be imported into your Elementor editor, complete with layout, widgets, and styling.
Note: If the imported header does not suit your needs, simply delete the imported content and go back to Sydney Studio to choose a different header design.
4. Customize the Imported Header
After importing, customize the header to match your brand. Common customizations include:
- Logo — Replace the placeholder logo with your own image, or remove it and use the Site Logo widget to automatically pull the logo from your Customizer settings.
- Menu — Select the navigation menu you want to display from the menu widget settings.
- Background — Change the section or row background color, image, or gradient.
- Other elements — Modify any other widgets, colors, typography, or spacing to fit your design.
Click Update to save your changes.
6. Preview Your Custom Header and Footer
Navigate to any page on the frontend of your website. Your imported header will appear at the top of the page, and your imported footer will appear at the bottom, replacing the default theme header and footer.
That’s it! You now have professionally designed, fully customizable headers and footers on your Sydney Pro website.
To learn more about Sydney Studio and its full library of importable sections, check out the Sydney Studio documentation. For details on the Template Builder module and all available template types, see the Template Builder module overview.
