Want to add and customize headings across your WordPress site? The Heading block in aThemes Blocks gives you fine control over tags, typography, colors, animations, and responsive visibility from inside the Gutenberg editor.
In this guide, we’ll walk you through how to enable and configure the Heading block with aThemes Blocks.
Before you get started, make sure you’ve installed and activated the aThemes Blocks plugin on your WordPress site.
Enabling the Heading Block
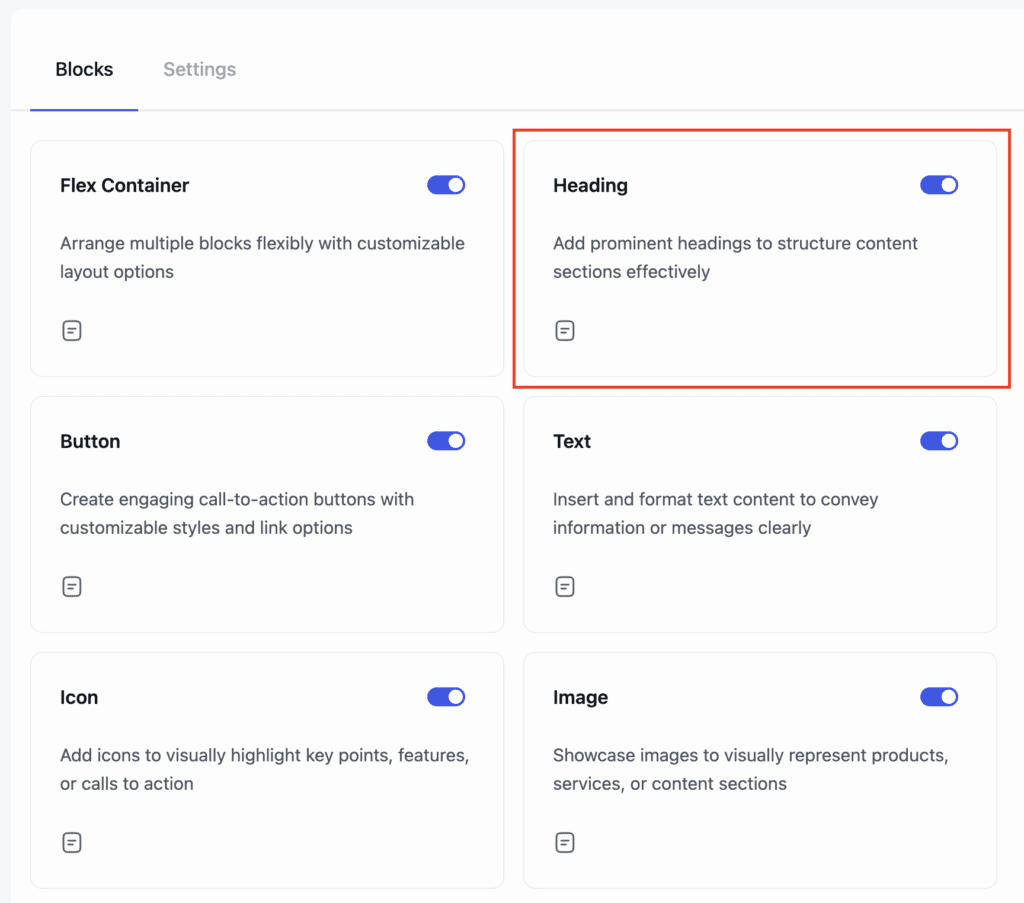
First, enable the Heading block from the Blocks Dashboard. Once enabled, open any page or post and add the Heading block from the block inserter.

Configuring General Settings
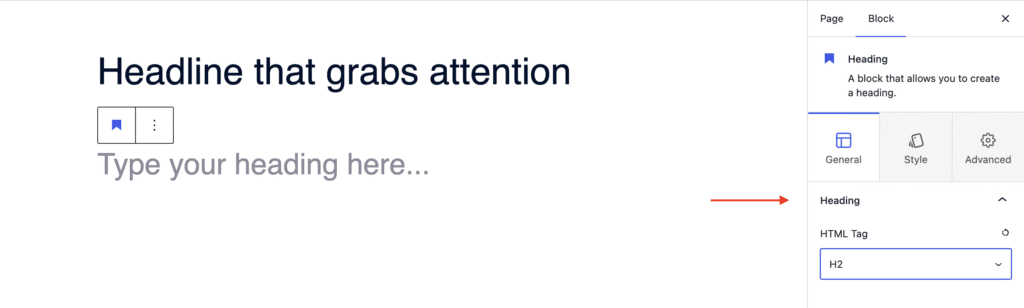
With the Heading block selected, open the General tab in the settings sidebar:
- Heading – Set the HTML tag (H1, H2, H3, etc.).
Styling the Heading Block
Switch to the Style tab to control the look of your heading:
- Heading – Set text alignment (left, center, right, justified), typography, and text color.
- Link – Customize the link color for any anchor text inside the heading.

Configuring Advanced Settings
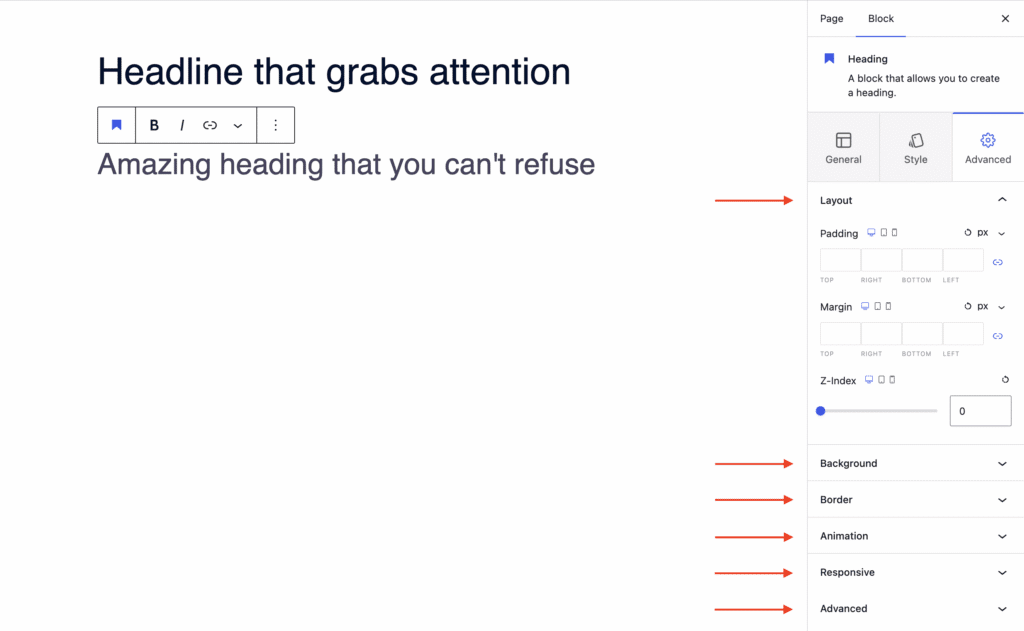
The Advanced tab unlocks layout, animation, and responsive controls:
- Layout – Adjust padding, margin, and Z-index.
- Background – Set a background color for the block.
- Border – Define the border style (solid, dashed, dotted, etc.).
- Animation – Apply entrance animations like slide in, fade in, zoom in, rotate in, or flip in.
- Responsive – Hide the block on desktop, tablet, or mobile.
- Advanced – Add custom CSS classes or CSS IDs for further styling.
That’s it! You’ve successfully configured the aThemes Blocks Heading block with the settings that match your design.
Next, would you like to add and customize body text? Check out our guide on Using the Text Block to learn more.
